OBASHI: Adding Elements
Introduction
In this article, we'll take a brief look at adding an Element in the OBASHI Software.
Every business asset is represented on an OBASHI diagram as an Element. Elements can represent owners or stakeholders, business processes, and technology assets. They are the building blocks of every OBASHI model.
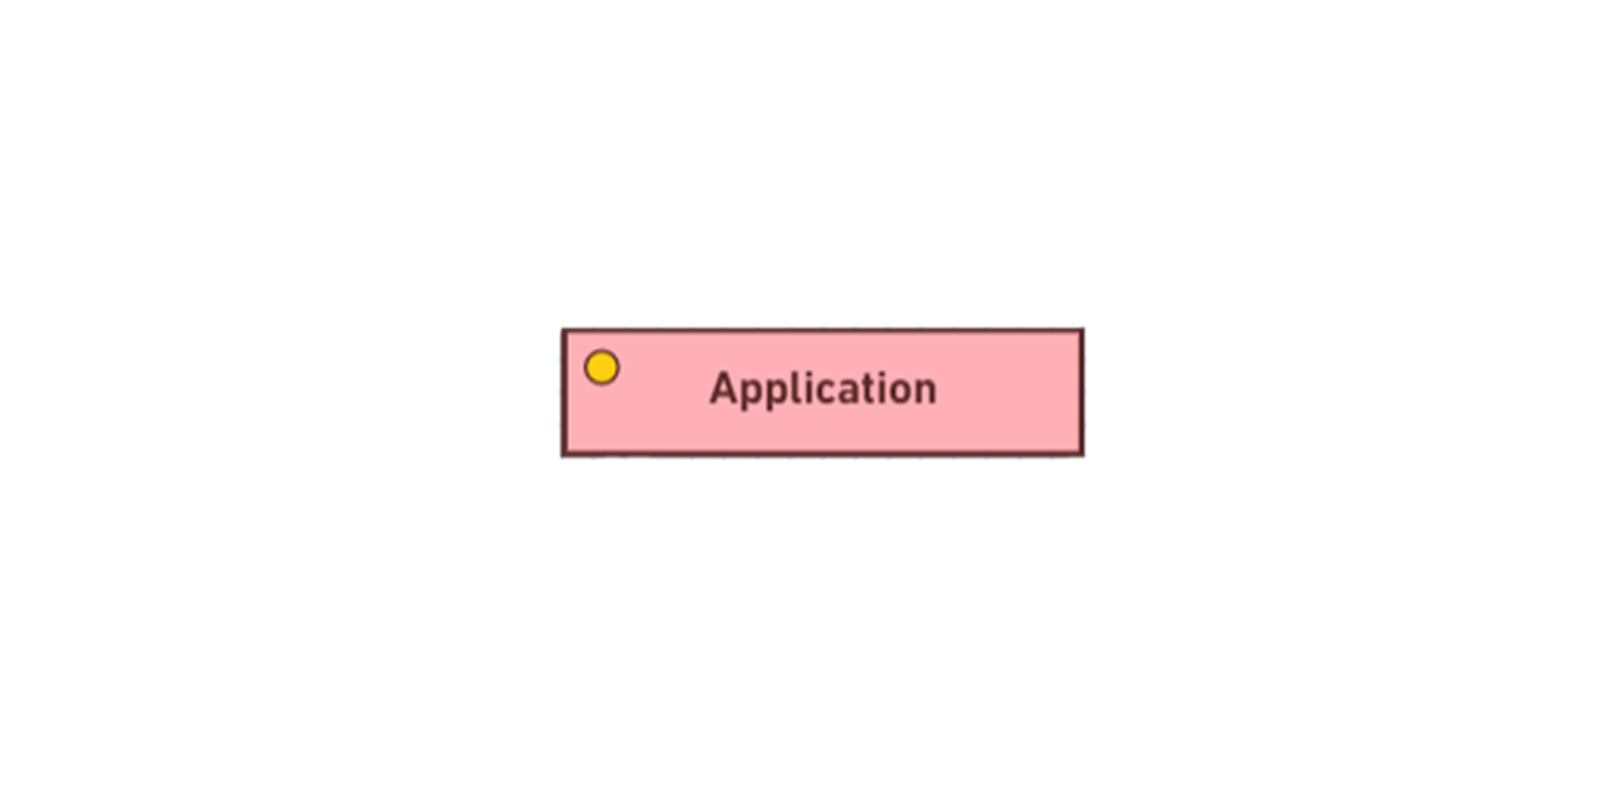
An Element is the most basic and common object on an OBASHI diagram. It is most commonly represented as a simple rectangle.
Step One
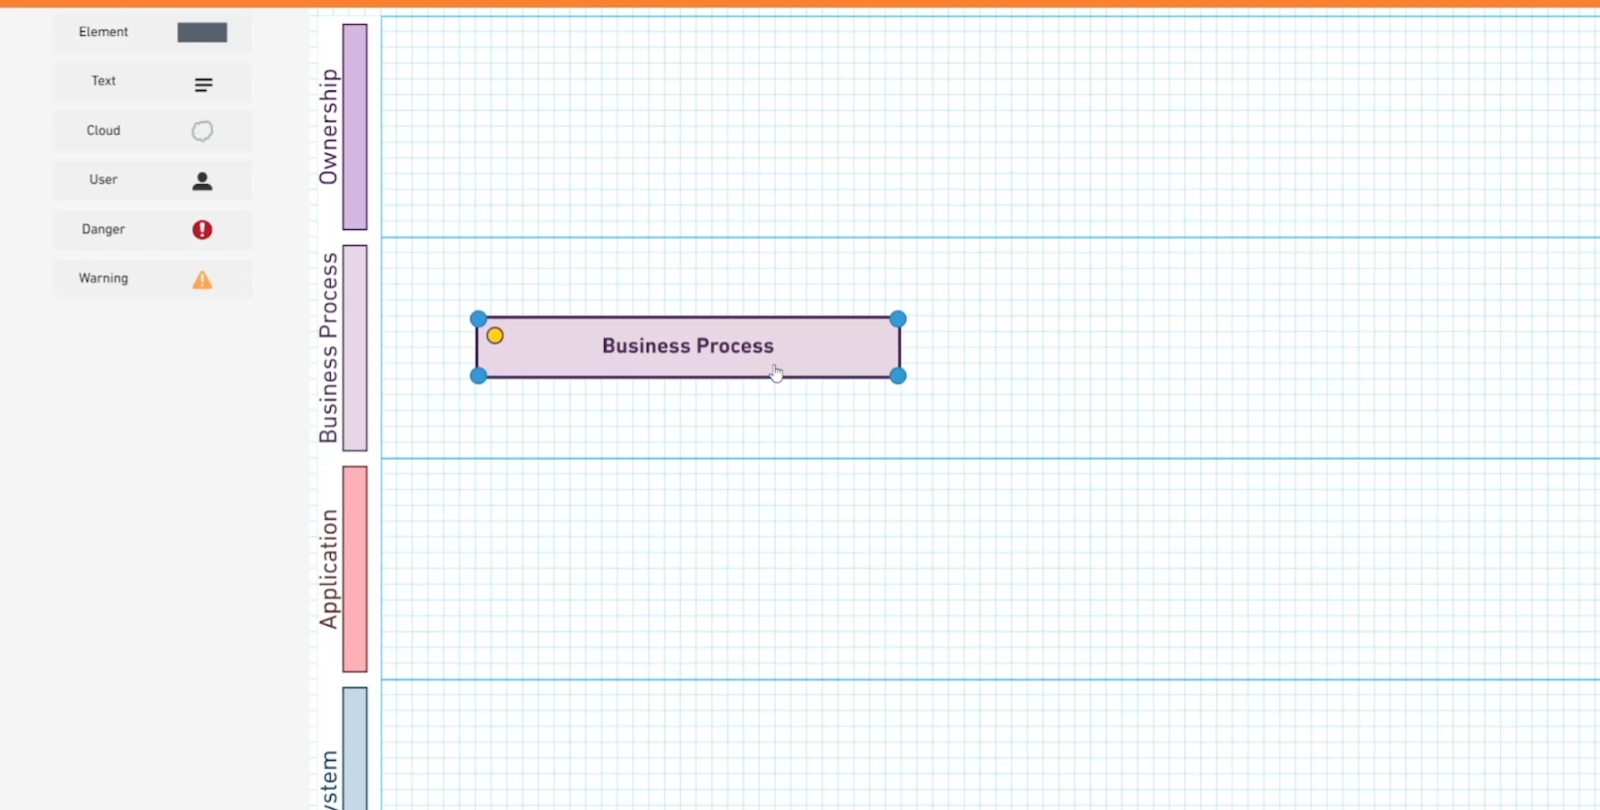
To add an Element to the canvas, click and drag an Element from the toolbox panel and drop it into one of the OBASHI Layers.
Once dropped, the Element will change colour and be bound to that layer. (Pictured Below)
Step 2
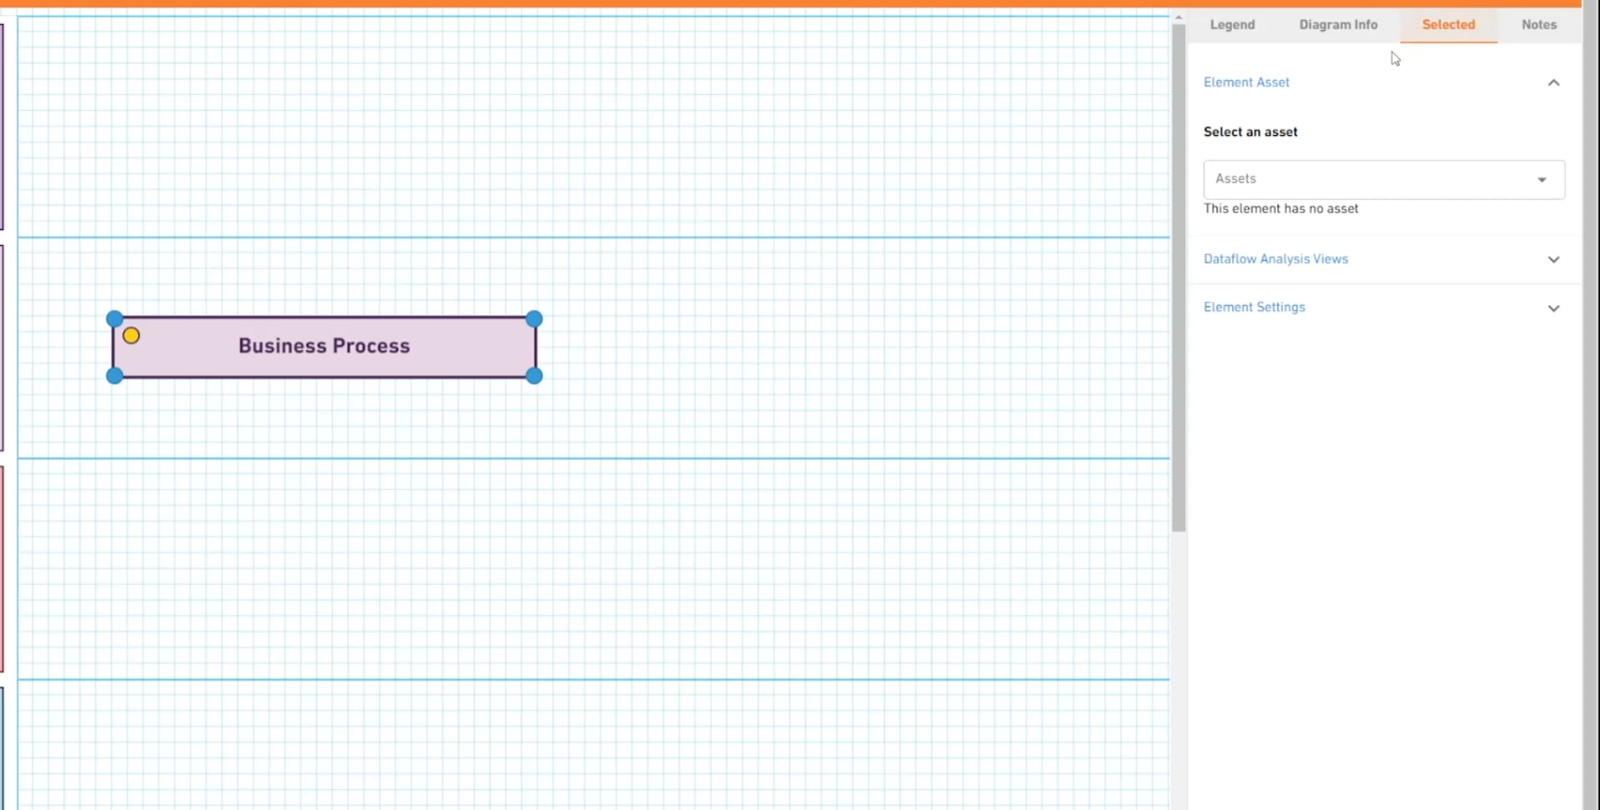
To change the default label of the Element, click on the Element to select it, blue handles will appear in each corner of the Element.
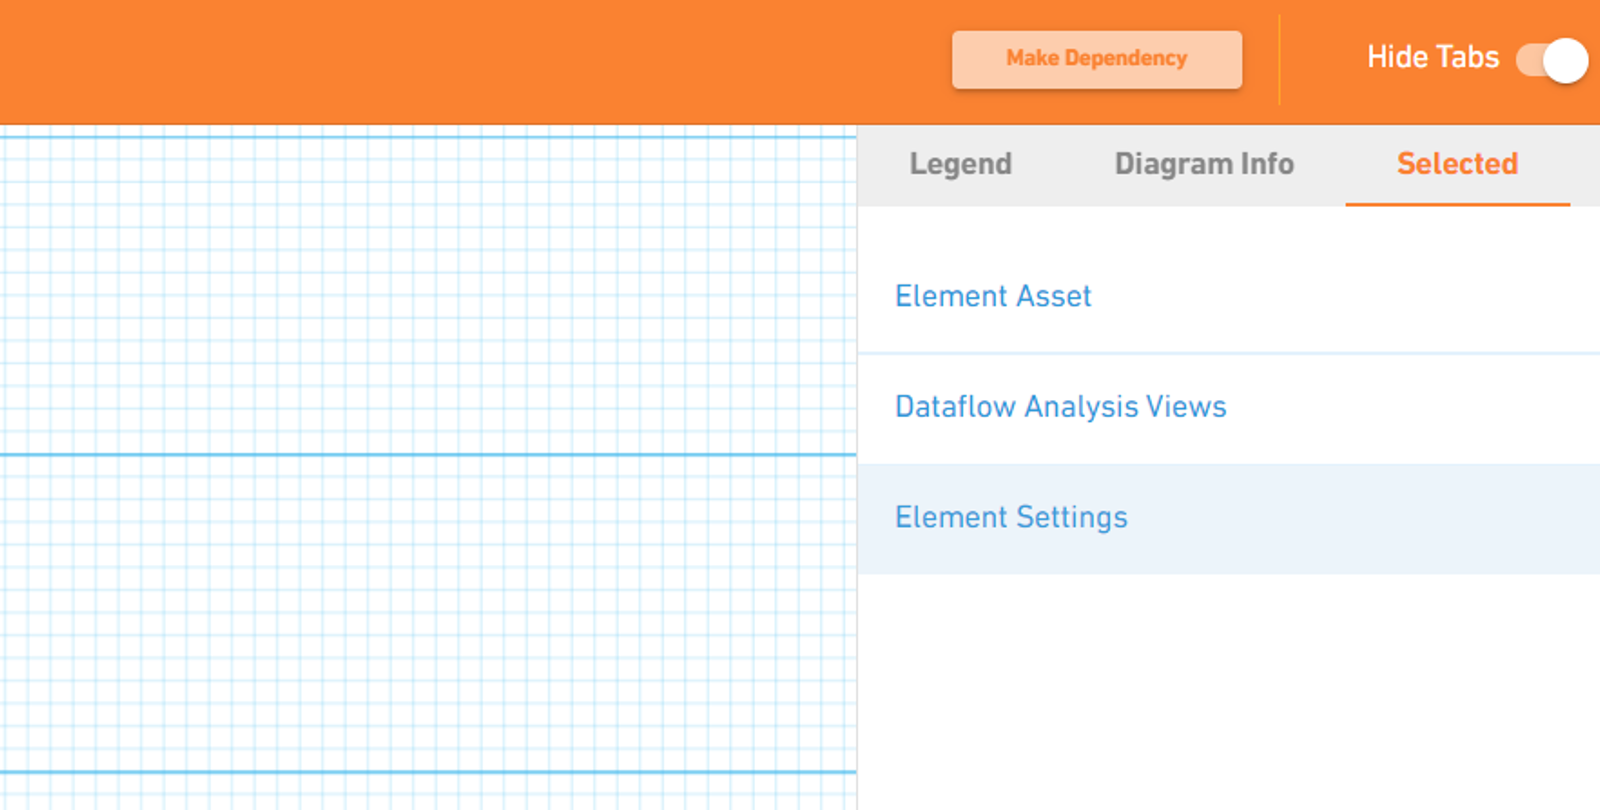
Click on the toggle in the top-right to open the Tabs panel, and click on the 'Selected' tab. (Pictured Below)
Step 3
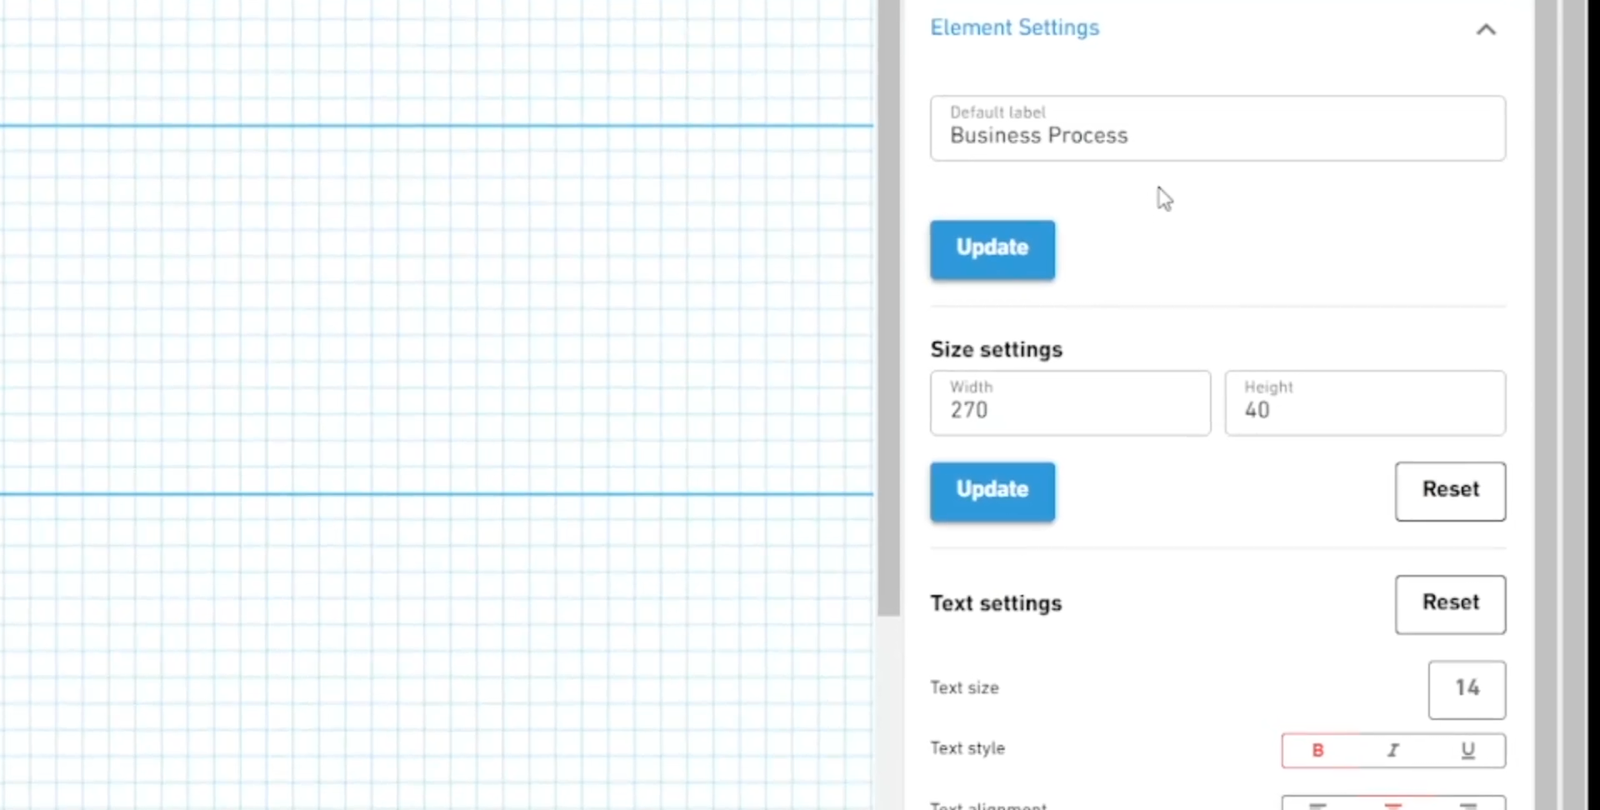
Open the Elements Settings drop-down menu. (Pictured Below)
Step 4
Click on the Default Label text box and edit the text.
Clicking the 'Update' button below will update the Element with the new Default Label. (Pictured Below)